- Log into the Billing Area
Select “Profile” from the “Account & Panels” dropdown
This is located on the upper right of the page next to the navbar, after logging into the Billing Area.
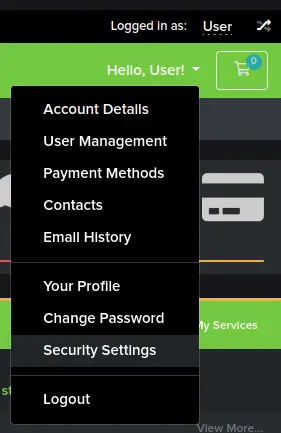
Open the “Security Settings”.
This is located on the left side of the “Your Profile” page.
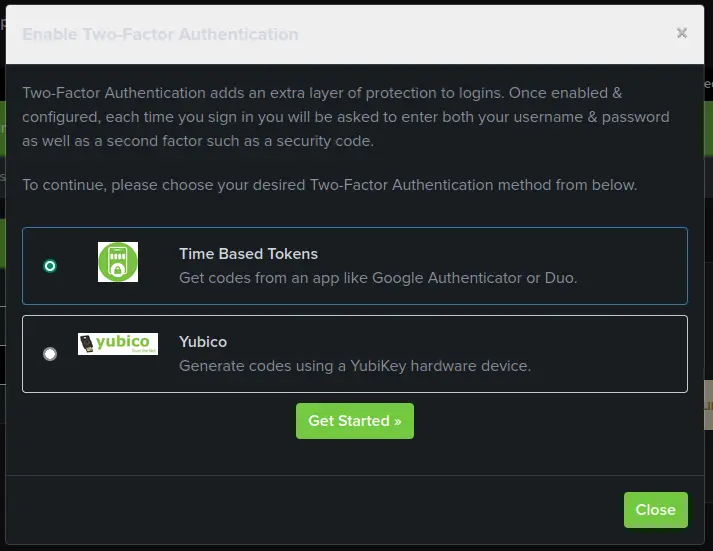
- Click the green “Click here to Enable” button.
Select “Time Based Tokens” and click “Get Started”.
You’ll be presented with two options, “Time Based Tokens”, which is what we’ve covered so far, and “Yubikey, which is an entirely different kind of 2FA that requires a specialized device.
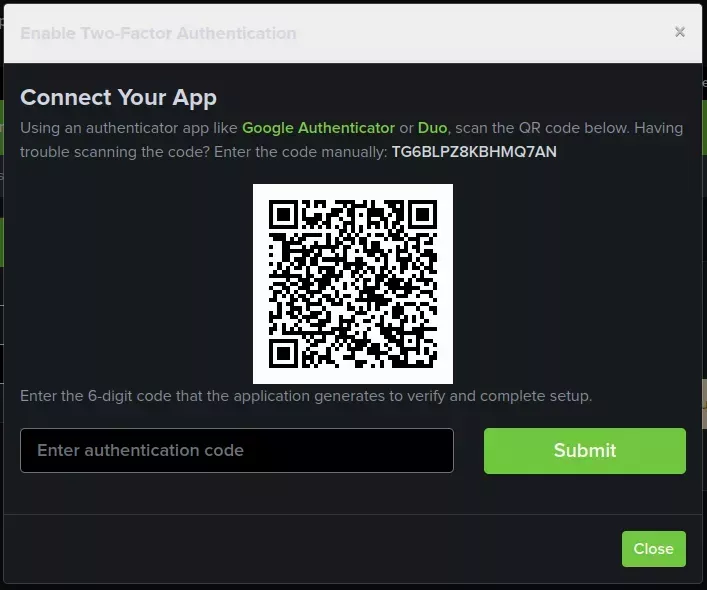
Scan the QR code with your authenticator app or enter the code directly.
You can scan the QR code using an app like Google Authenticator or Authy or you can enter the code manually into either of the two apps.
More in Accounting & Billing
How to Cancel Your Service
We're sorry to see you go, but this is how you can cancel your HostVenom service!
PayPal Payments
How PayPal Billing Agreements interact with your HostVenom service.
Upgrade or Downgrade Your VPS
How to upgrade or downgrade your HostVenom VPS by switching packages or changing your RAM, CPU, and storage limits.