You can configure your server’s rDNS in two locations, the Server Control Panel and the Billing Portal. Changing it in one location will also show in the other, so it’s just a matter of convenience or comfort.
You can find information on using the Billing Portal here and the Server Control Panel below.
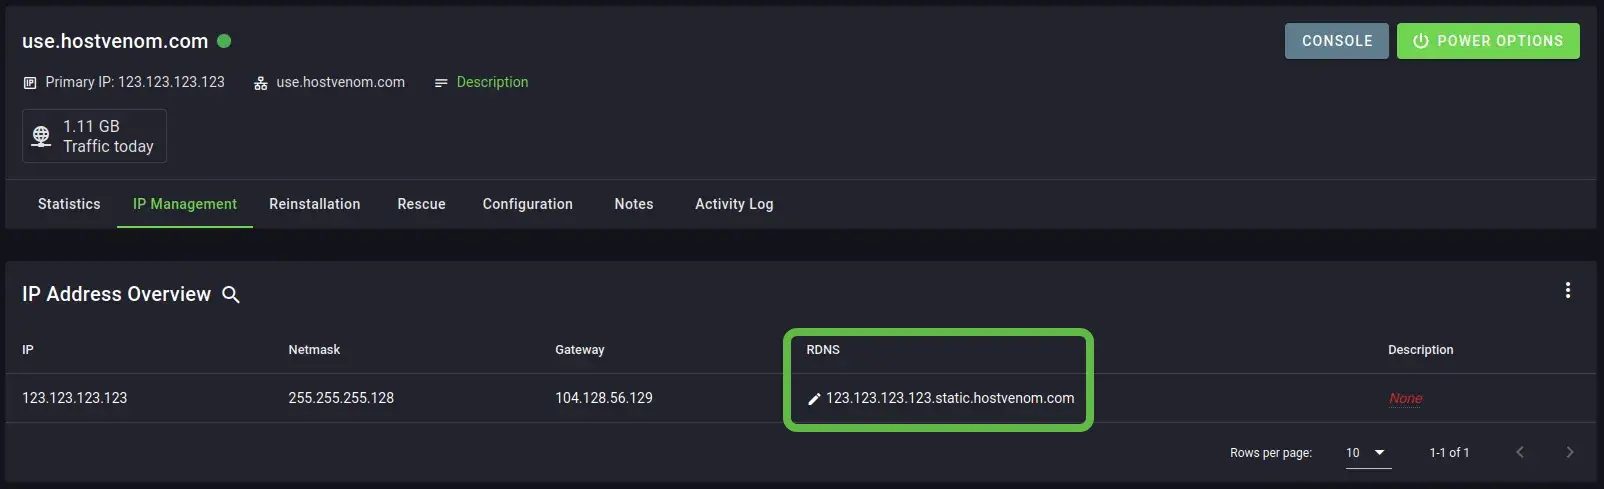
After Logging In to the Server Control Panel you’ll want to select the server you want by clicking on the value in the servername column. When you click on it, you should see the “IP Management” tab of your server, which will look similar to the image below.
You can now click on the “RDNS” entry for the IP you want to edit.

More in Server Management
Managing Your Server via the Billing Portal
How to manage your VPS, Colocated, and Dedicated servers through the HostVenom Billing Portal. Covers power control, reinstallation, IP assignments, rDNS, and traffic graphs.
Chrome Remote Desktop
How to install and connect to your HostVenom Windows/Linux server using Chrome Remote Desktop.
Logging In to the Server Control Panel
How to log into the HostVenom Server Control Panel using SSO or credentials, reset your password, and find your username.
NoVNC
How to log in to and use NoVNC to control your HostVenom Windows/Linux server from your browser.