Windows includes a number of features that are available to install but disabled by default. The process for enabling them on Windows Server is a bit different from enabling them on Windows 10/11, but the features are largely the same.
In this tutorial, we are going to install .Net 3.5, which DOES NOT require any additional licensing. You can follow the steps outlined below for other roles/features as needed by selecting them in Step 4.
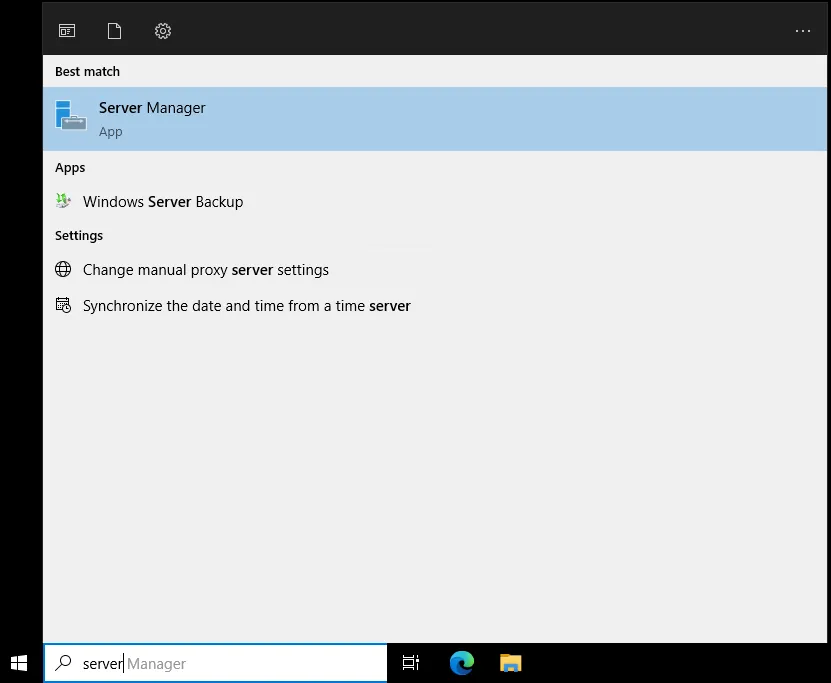
- Start by opening the “Server Manager”.
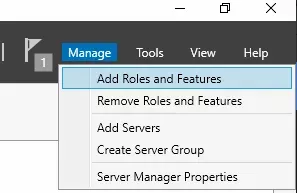
- Select the “Manage” -> “Add roles and Features” button from the menu buttons on the top right.
- This will open a “Wizard” which has a number of options other than “Select Features”.
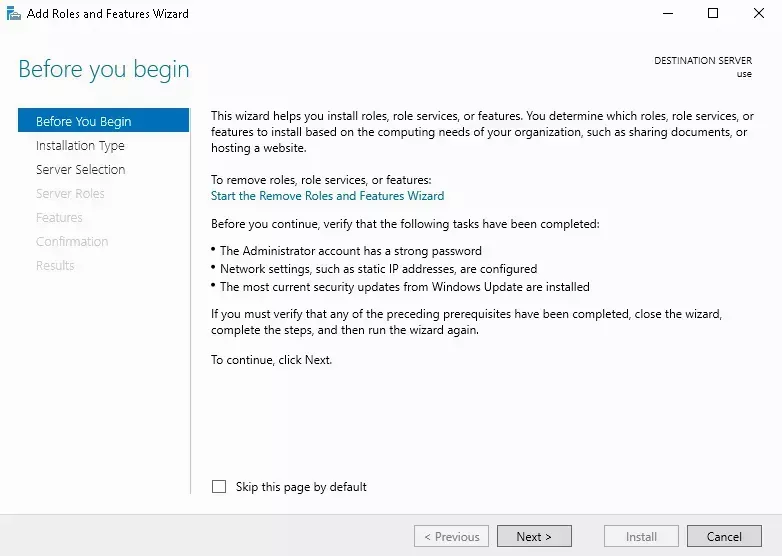
- You can click “Next” with all of the default options selected until you get to “Select Features”.
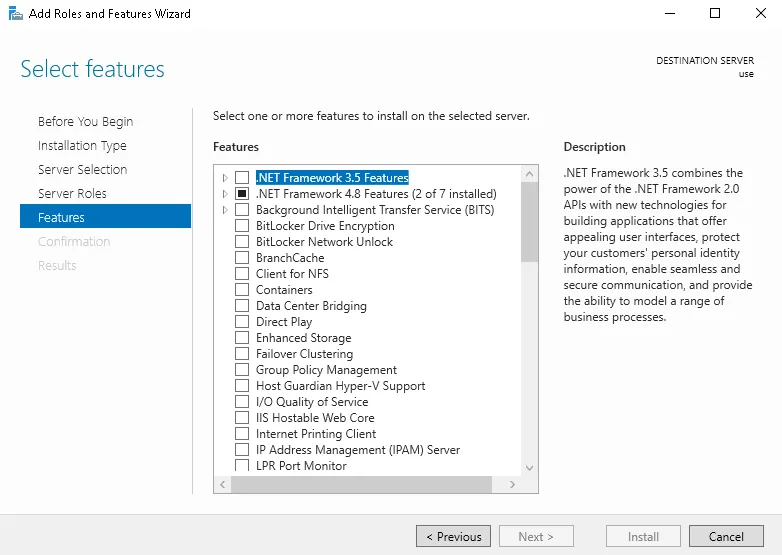
- Select the features you want to enable/disable from the “Features” list.
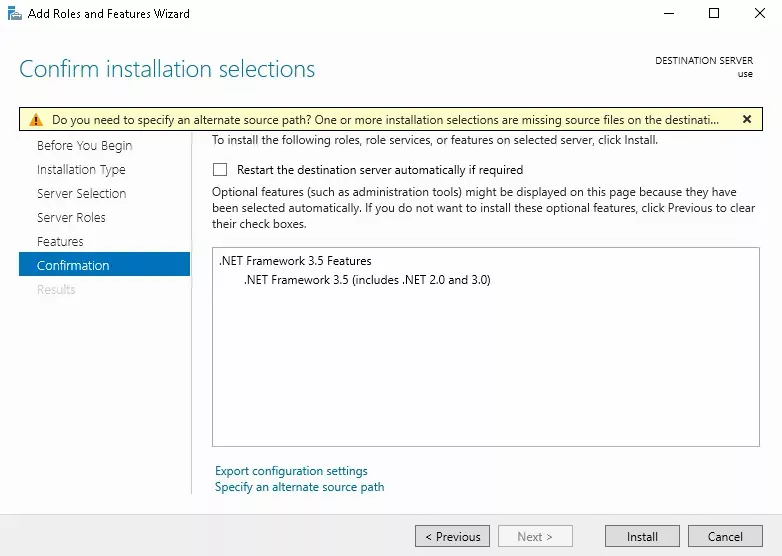
- Use the “Next” and “Confirm” buttons.
- You’ll get a list of the features you’ve selected to be changed and be provided an option to “Restart if Needed”.
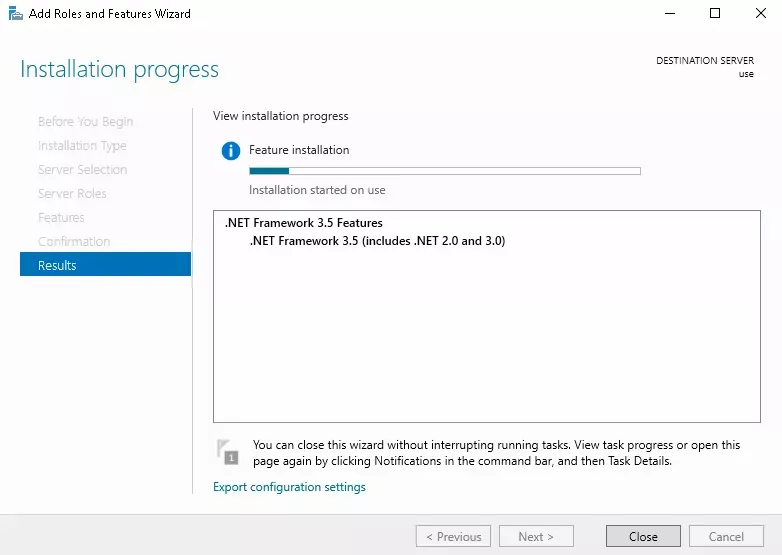
- Wait for the installation to finish.
More in Windows Servers
Enabling Remote Sound
How to enable and debug remote sound for your HostVenom Windows VPS over the Windows Remote Desktop client.
Error in Data Encryption
Fix the "error in data encryption" message you may see when connecting to a Windows server over RDP.
Multiple Monitors with RDP
Configure your Windows Remote Desktop session to use two or more of your physical monitors instead of just one.
Getting Started with Your Windows Server
The first steps to take with your Windows Server at HostVenom.